Beam and Frame Analysis using the Direct Stiffness Method in Python
Build a sophisticated structural analysis software tool that models beams and frames using Python.
- You’ll understand how to model beam elements that resist axial force, shear forces and bending moments within the Direct Stiffness Method.
- You’ll learn how to build analysis software that can generate shear force diagrams, bending moment diagrams, deflected shapes and more
- You’ll understand how to model rotational pins within your structures, inter-nodal distributed loading and realistic flexible supports.
- You’ll have the tools, knowledge and confidence to expand your code even further beyond what we cover in the course.
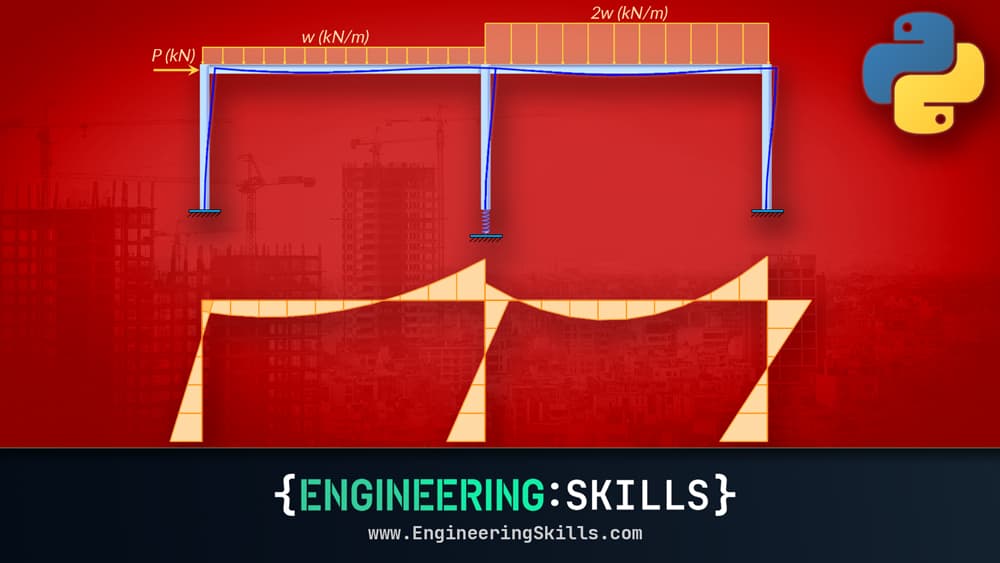
In this course we’ll be focusing on building a beam and frame analysis programme in Python using the Direct Stiffness Method. Once you’ve completed this course you’ll have developed from scratch, your own structural analysis software tool that can generate bending moment diagrams, shear force diagrams, and deflections for beam and frame structures.
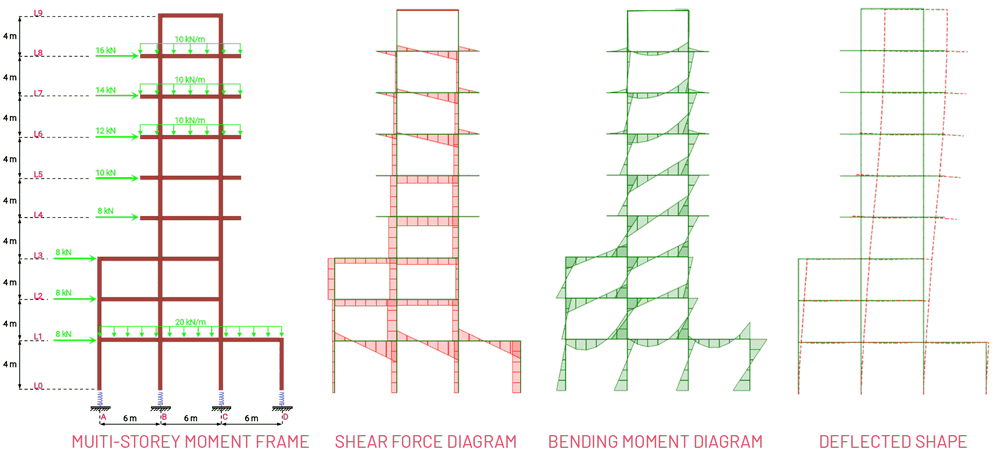
If you’ve ever wanted to understand how structural analysis software works, what better way than to build your own!
Engineers today typically rely pretty heavily on structural analysis software. While understanding hand analysis techniques forms the foundation of our understanding of structural behaviour, once things scale up on real world engineering projects, finite element analysis software becomes incredibly useful. If you’re wielding these sophisticated tools, as a student or practicing engineer, it makes sense to have a good understanding of what’s going on behind the scenes.
This course follows on from our course on truss analysis using the direct stiffness method with Python. If you’ve completed that course, then this course is the natural next step. We’ll take our fundamental understanding of the direct stiffness method and supercharge it by expanding to consider beam elements resisting bending and shear. The code we develop in this course, will be able to handle, pinned members, inter-nodal loading and even flexible supports.
Course Breakdown
Our pathway through this course is broken into 8 sections.
Section 1: Welcome and Setup
In this brief introductory section we’ll take care of some housekeeping before getting into the course proper. The main goal of this section is to get your coding environment set up and to give you an idea of how we approach using and learning Python in this course. Now, most of you should already have completing this but I’ve included these setup lectures again for anyone who finds themselves here and hasn’t or doesn’t need to complete the prerequisite truss analysis course.
Section 2: The Beam Element Stiffness Matrix
In section 2, we’ll use the finite element equations to derive the stiffness matrix for a beam element. This is the basic building block of the direct stiffness method and so it’s worth spending some time to completely understand its origins. We’ll also formalise a transformation matrix that we can use with our new 6×6 stiffness matrix. The style of delivery in this initial theory section will be handwritten notes. You’re encouraged to build your own notes in parallel as we move through this section.
Section 3: Beam & Frame Analysis Step-by-Step
In section 3, we’re going to manually work our way through the actual analysis procedure by focusing on a simple structure. This will allow you to familiarise yourself with the discrete steps in the procedure and also give us the opportunity to highlight where the procedure differs for beam and axially loaded bar elements.
In this section we’ll lean on Powerpoint slides. As veterans of EngineeringSkills courses will know, not my favourite medium, but it makes sense when we dealing with larger matrices.
Section 4: Implementing Beam & Frame Analysis in Python
In section 4 we finally get our feet wet with some coding. We fire up a Jupyter notebook and build a basic implementation of the direct stiffness method that directly implements our solution from section 3. The aim here is just to make the jump to code and get a working solution running.
Section 5: Generalising our Code
In section 5, we’re going to generalise our code and make it suitable for analysing different structures. This section is where we turn our bespoke structure solver from the previous section into a generalised code that can be easily deployed to other structures. After completing this section we’ll have a solver that takes inputs, does the hard work on its own and then gives us the outputs.
Section 6: Building Better Visualisations
In section 6 we spice up our code by building in some helpful data visualisations. What good is a structural analysis programme without the ability to output shear and moment diagrams. In this section we build these and other data visualisations into our code. We also add a couple of other nice features, in particular user interface widgets to control how our plots look.
Section 7: Pins, Inter-Nodal Loading & Flexible Supports
In section 7 we further expand our solver to include more functionality that will massively enhance the usefulness of our solver. We’ll build in the ability to handle pinned members within our structures, inter-nodal distributed loads and flexible spring supports. With these additions our solver takes a massive step forward in usability and sophistication.
Section 8: Test Questions
Finally in section 8 we can play around with our new code by using it to analyse some example structures. We don’t do any new code development in section 8, this section is just about getting some practice in actually using our solver.
Course Updates:
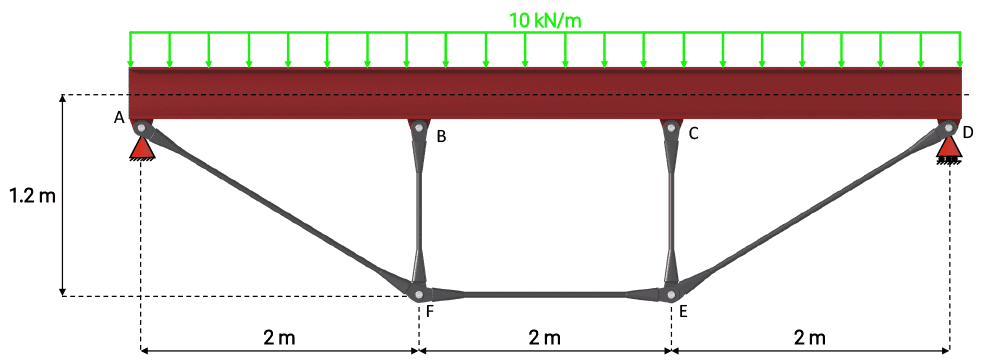
As new ideas come to mind and student suggestions come in, these are added to the course as often as possible. So the latest updates include lectures on combining beam and axially loaded bar elements and allowing different elements to have different cross-sectional areas. This greatly enhances the flexibility of your code and allows you to model structures like the ‘truss-beam’ shown below.
Who this course is for
- Students and engineers who’ve studied matrix analysis methods but never implemented what they learned in code to realise the full potential of these techniques.
- Students and engineers who’ve taken our truss analysis course and want to continue learning and expanding their abilities.
- Anyone who wants to leverage programming as a tool for structural analysis or within their day-to-day study or work.
Although not absolutely essential, it is highly recommended that you complete the prerequisite course before starting this course.
The codes developed in this course are for educational purposes only and are not tested or certified for use beyond the educational scope of this course. Always employ your own engineering judgement first and foremost, regardless of what the computer says!
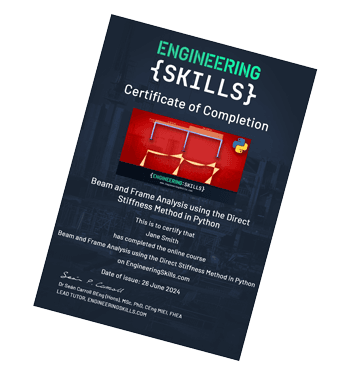
Download your personalised Certificate of Completion once you’ve finished all course lectures.
Applying for jobs? Use your Certificate of Completion to show prospective employers what you’ve been doing to improve your capabilities.
Independently completing an online course is an achievement. Let people know about it by posting your Certificate of Completion on your Linkedin profile or workplace CPD portfolio.
The Direct Stiffness Method Course Bundle
The complete starter pack for learning the Direct Stiffness Method with Python.
- The Direct Stiffness Method for Truss Analysis with Python
- Beam and Frame Analysis using the Direct Stiffness Method in Python
- 3D Space Frame Analysis using Python and Blender

