Welcome to the project! In this first section, we’re going to focus on getting our development environment setup and initialising our VIKTOR app - giving us a blank canvas to work on.
Remember to sign up for your free VIKTOR account if you haven’t already - you’ll need it to build alongside me in this project.
VIKTOR have a lot of helpful resources and tutorials in their documentation. So, during our build, when it makes sense, I’ll reference VIKTOR resources in a blue box, like this one, rather than repeating whole sections of their docs in this project.
If we need a sidebar discussion to explain a VIKTOR development paradigm or concept, I’ll call that out in a stand-alone orange box…
Ok, let’s get started!
1.1 Setting up your development environment
The first task is to set up your development environment. There are several options, but broadly speaking, you can develop on your local machine or work in a remote development environment using Github Codespaces or GitPod.
If you’re on a Mac (like me), you’ll have to go with cloud-based development - I'll be using a Github Codespace. I actually think this is a great option; it’s simple to set up and doesn’t require any downloads or local installs.
You obviously need to be connected to the internet to work on your app - but to be honest, I can’t remember the last time I wrote code without being connected to the internet!
The VIKTOR docs have an easy-to-follow guide on how to set up your Codespace…
I recommend following that to get set up - it’s very straightforward...you can watch their walkthrough video directly below 👇 or walk through it with me in the lecture video above 👆
To get set up with your Codespace, you basically need to clone the VIKTOR template repo into a fresh repo in your own Github account - so, during this setup, you would create a repo to store the code for this tutorial for example.
If the term repo is new to you or you're not familiar with git and Github, don't worry - you don't need to be. Just create a Github account and follow the steps in the lecture video above (click where I click :) - you don't need to be a git commando to make this work!
Once you have a new cloned repo, you will initialise a new Codespace which will launch your browser-based development environment, Fig 1.
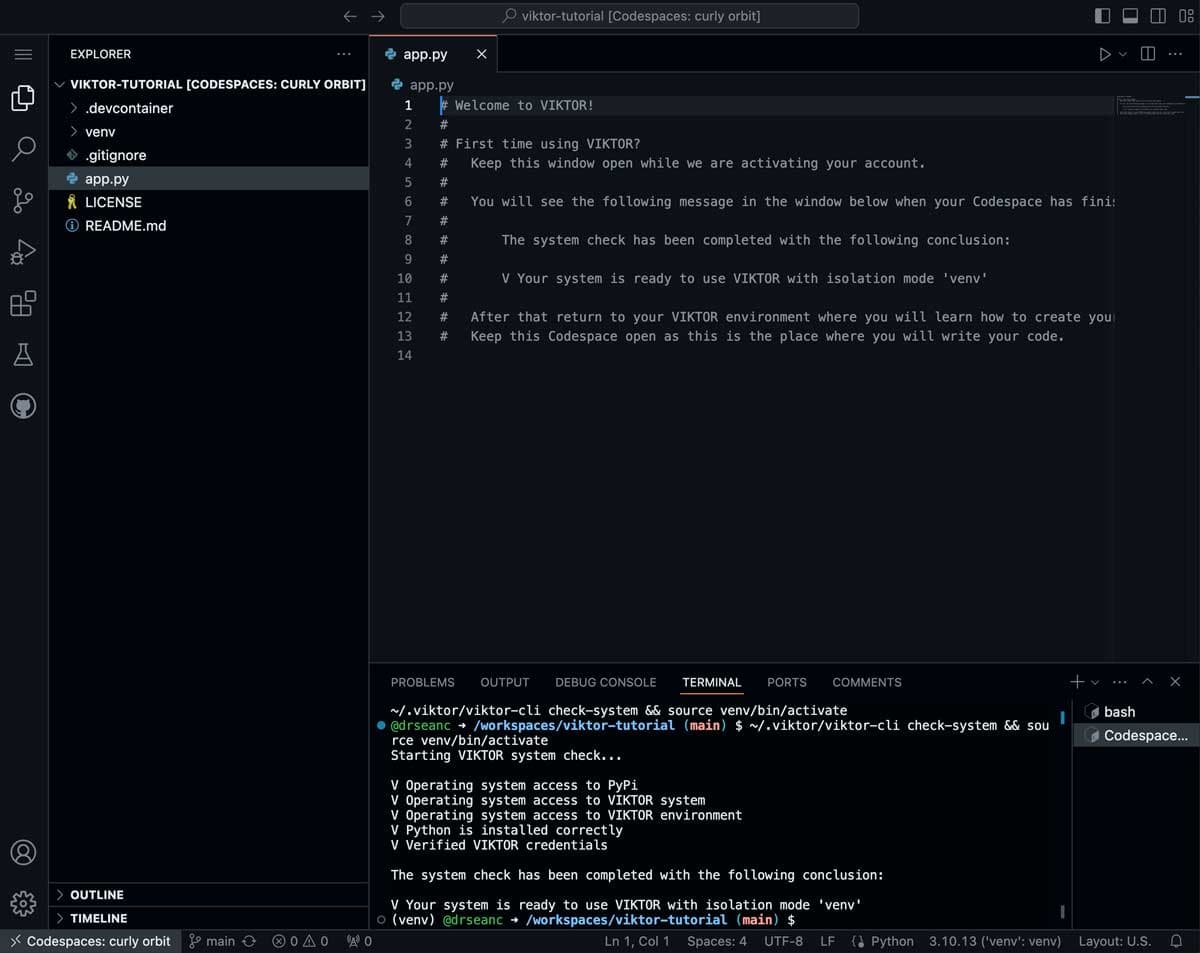
Fig 1. Github Codespace development environment, based on the VIKTOR template repo. This is where we'll write the code for our app.
We now have two locations that we’ll jump between as we work - our Codespace development environment (where we’ll write code), and our development Workspace on the VIKTOR platform (where we’ll launch and interact with our app as we develop it). We'll explore the Workspace in the next lecture.